Our Life in Pictures

Here’s what we’ve been up to lately…

Rylan got baptized. Brandon squirmed the whole time and gave quite a show for the rest of the congregation. Oh 2 year olds…


Suki turned 6! She’s getting fat in her old age and almost wasn’t allowed on the last flight we took because she weighed too much!

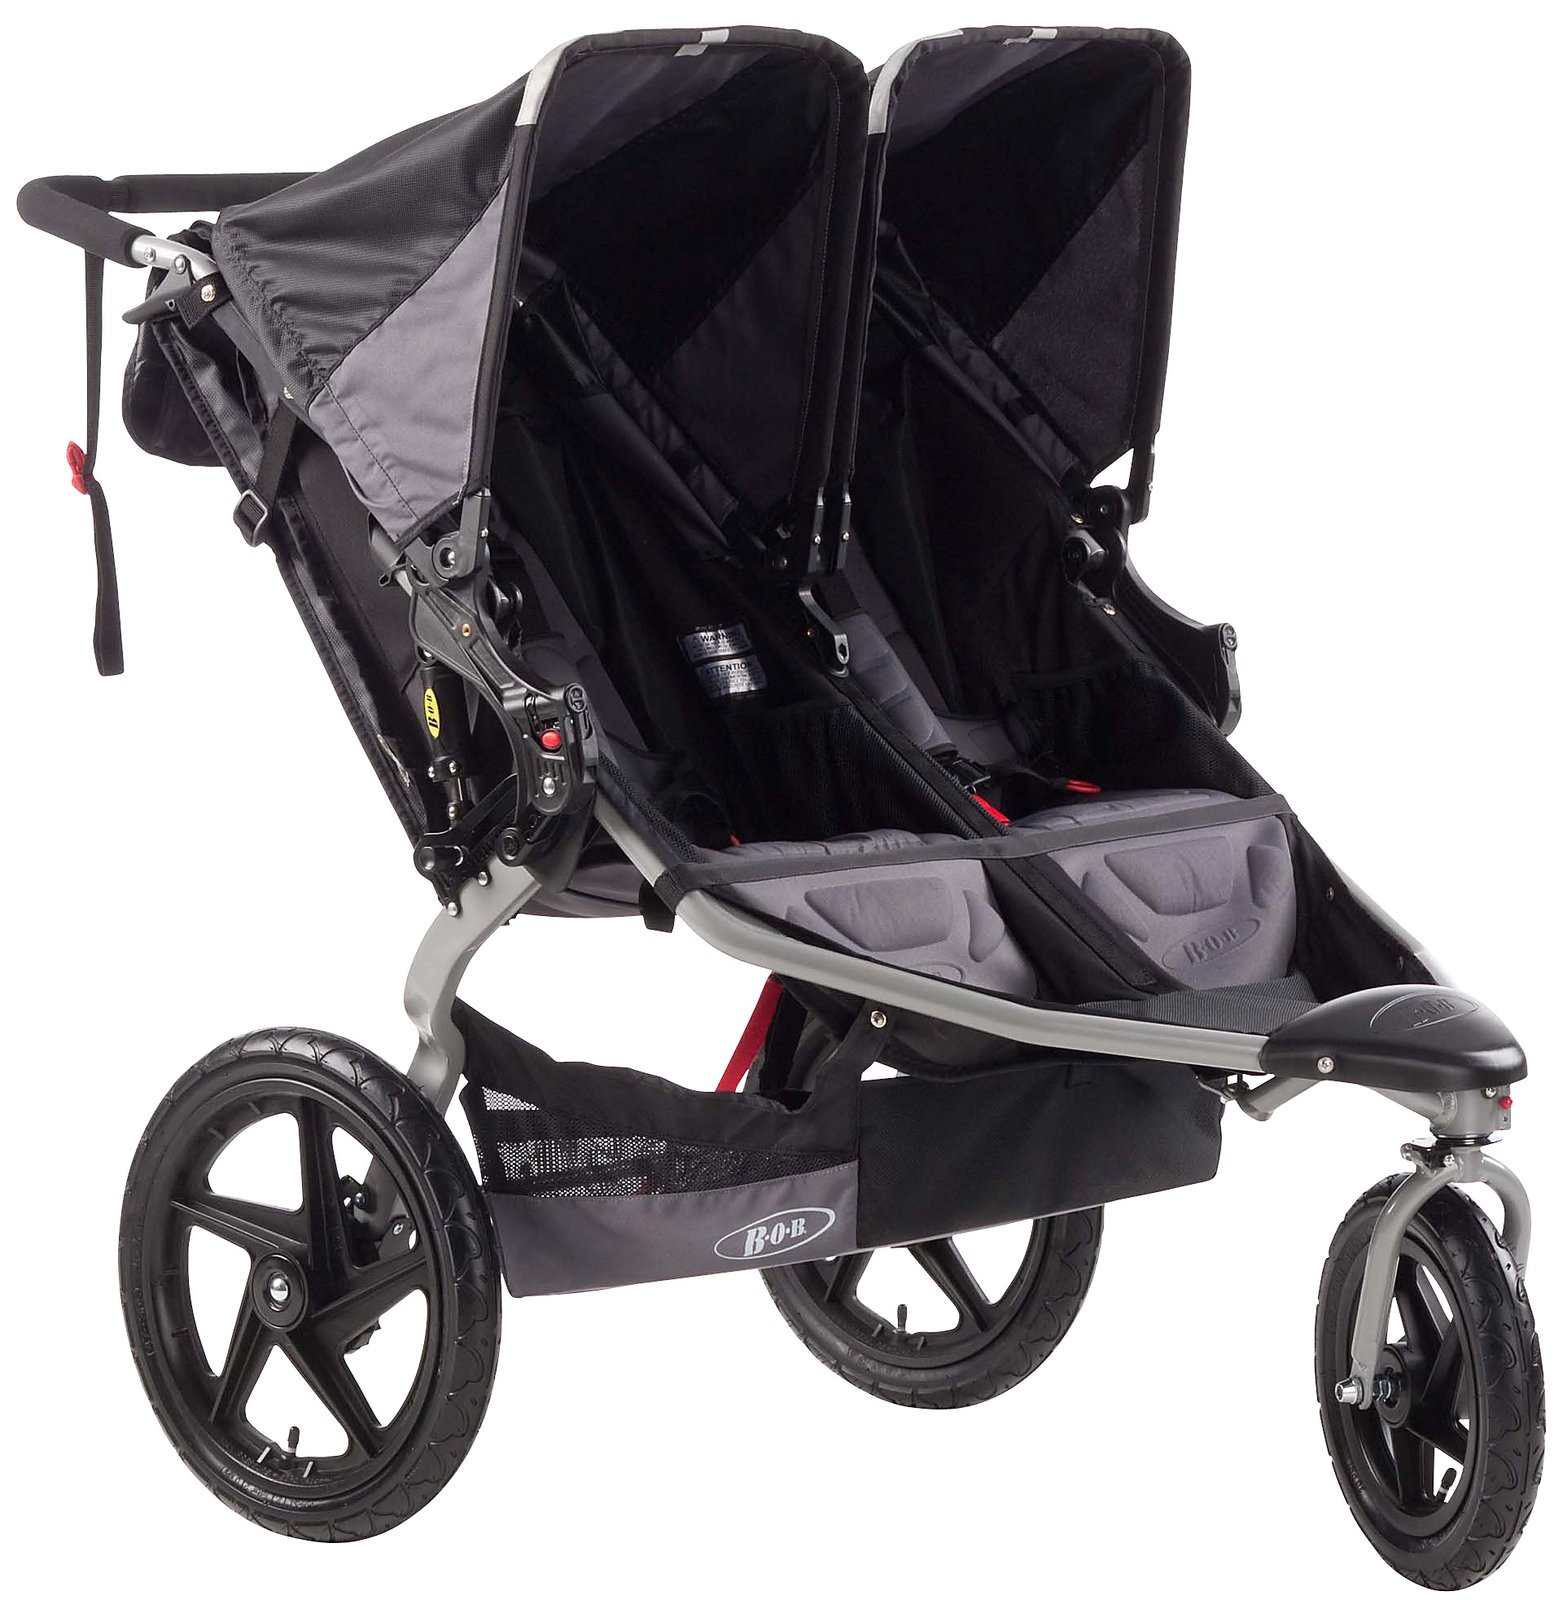
I set a new 4-mile PR of 28:15 at the Run for Central Park. Thanks double stroller!

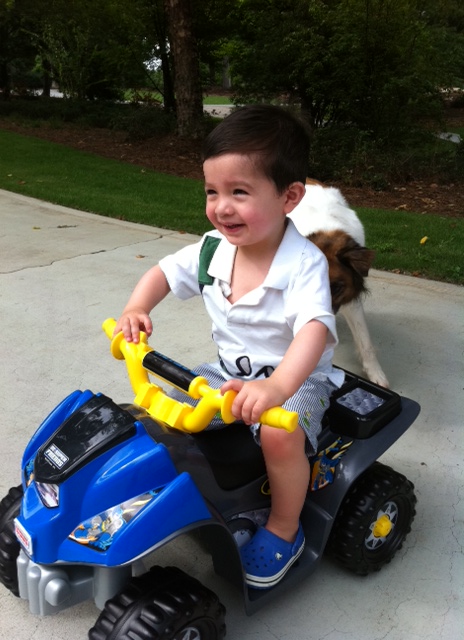
We visited my family down in Georgia for a week. Brandon had too much fun riding on the boat & jet ski, playing out in their huge yard, swimming in the pool, and getting lots of attention from his grandparents, uncle and aunt!


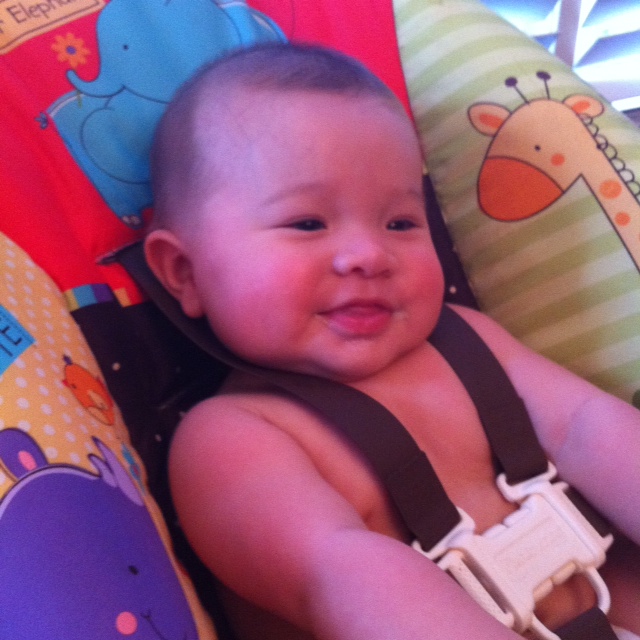
Rylan ate real (well if you consider rice cereal real) food for the first time. My big boy!

Hope everyone is having a great time watching the Olympics! I can’t wait for the running to start!

signature

Micheladas

So we are still on vacation down in GA, but I thought I would share another oldie but goodie from my previous blog. This is the perfect drink for a hot summer day. My husband and I discovered them years ago while vacationing in Mexico. He likes to put all the extra jazz in his, but I like just straight up lime juice and beer. So kick back, make yourselves a refreshing Michelada and pray that Monday won’t come too quickly. :)

Micheladas (makes 2)

3 limes
salt
2 Mexican beers (like Corona)
soy sauce (optional)
Worcestershire sauce (optional)

  • Juice all 3 limes into a cup.
  • Rub the rim of the glasses with one of the leftover lime wedges.
  • Sprinkle a handful of salt onto a plate, and roll each glass rim into the salt (totally optional, or could only do part of the rim).
  • Divide the lime juice up between the 2 glasses.
  • Optionally – add a few drops of soy sauce and Worcestershire sauce for a different version. This one has a spicier taste and would be great as a brunch time drink instead of a bloody mary (the hubby likes this type better, while I like just the lime juice).
  • Fill the glasses with beer.
signature

Magnolia Banana Pudding

Originally posted on Culinary Wannabe – this is one of my favorites!

For years, every birthday in our house has included the infamous Magnolia Bakery cupcakes. People line up around the block waiting to get into the itty bitty store in the west village to buy a box of these treasured cupcakes. Truth be told, I’m not the biggest fan of the traditional vanilla or chocolate. They are a little grainy and dry and the frosting makes my teeth hurt just thinking about it. Some of the other flavors like spice or red velvet are okay, but they aren’t the real star of the show. The real star is the banana pudding. It is absolutely ta-die-for, and has long been dubbed by Brad and I as one of the best dessert in nyc.

In recent years Magnolia’s have popped up all around town, and I can frequently be found at the one on the UWS. If you are in NYC, be sure to grab a (large) cup, and if not try this recipe at home. It’s really simple and a definite crowd pleaser!

Magnolia’s Famous Banana Pudding

Recipe Courtesy of More from Magnolia

1 14-ounce can sweetened condensed milk
1 1/2 cups ice cold water
1 3.4-ounce package instant vanilla pudding mix (Jell-O brand recommended)
3 cups heavy cream
1 12-ounce box Nabisco Nilla Wafers (substituting not recommended)
4 cups sliced ripe bananas

  • Beat water and condensed milk together with an electric mixer until well combined (about 1 minute, and be careful, this one can fly every where!)
  • Beat in pudding mix for 2 more minutes.
  • Cover with plastic wrap and chill for 4 hours or overnight.
  • Whip the cream with an electric mixer until stiff peaks form.
  • Gently fold the whipped cream into the pudding.
  • To assemble, do alternating layers of wafers, banana, and pudding. Make as many layers as you like and divey up the ingredients accordingly (you could also make individual portions in stemless wine glasses like I did).
signature

Getting Your Life Back After Baby

I admittedly read way too many parenting books before Brandon was born. I would literally read every book out there that anyone with an opinion had touted as the latest and greatest in the parenting world. It probably just confused me with too many methods and thoughts, and it took a long time for me to get out of my head what kind of parent the books were telling me to be and what kind of parent I actually was/wanted to be. I was convinced that I needed to be this hippie lovin’, no schedule, nurse whenever my precious little baby wanted kind of mommy (this also fell in line with what my pediatrician at the time was telling me). Although most of these books never flat out said it, they pretty much expected you to meet every demand your tiny addition would make, regardless of how it affected your life, or if it was even reasonable (like feeding every 2 hours at 4 months old!).

Fast forward 5 months later, I was a wreck. Brandon would wake-up 10 times a night and was completely unpredictable during the day. I never slept more than a couple hours at a time and felt like a walking zombie. Being the type-A person that I am, having no clue how our days/nights were going to go drove me nuts. I couldn’t understand how any mother out there ever got her act together after having a baby.

At our wits end, Brad and I finally called in Dream Team Baby sleep consultants to help us get Brandon sleeping at night. Not only did they do just that, but they also showed me a totally different picture of what motherhood could be like. They immediately put Brandon on a strict schedule during the day and used a version of “cry-it-out” to get him to sleep at night. It was incredibly hard the first day, but after 3 nights, he was sleeping 12 hours and taking 2 solid naps during the day. Hallelujah, praise the Lord!

By not giving into Brandon’s every desire (i.e. me comforting him multiple times during the night and letting him set the schedule during the day) we had regained our control as the parents. I finally knew what to expect during the day and could actually get out for a run or lunch with a friend. I could plan things! I also had enough energy to do them since we were all finally getting a decent amount of sleep at night. It is no exaggeration when I say that sleep training, scheduling, and a bit of parental control literally gave me my life back.

There is no one-size fits all solution, but I would say the secret to getting your life back after baby is doing just that, get back to your life. Hire a babysitter, enlist the help of friends, let your child be a little uncomfortable as they work through the fact that the world doesn’t revolve around them. I’m not saying let your newborn go hungry, but be reasonable. Respect your needs as well as your child’s and don’t think you have to give up your own life to be a good mother.

Here’s a list of a few practical things that have helped me:

  • Sleep Training – not for everyone, but it does work and it works fast.
  • Scheduling – I’m a hyper-scheduler by nature, but I think just having a similar flow to your days is helpful.
  • Parental Control – what I mean by this, is understanding that you’re the parent and you know best. There will be a day when your toddler will cry and yell because they want to run into traffic, which you obviously won’t let them do. Crying or being uncomfortable does not mean that you are being a bad parent, it’s actually what it takes a lot of times to be a good parent.
  • Independent Play Time – Brandon plays happily in his room for an hour everyday by himself. It is wonderful and heavenly, but it took a lot of work to get up to this point. We started young and with only 5 minutes, then 10 minutes, etc. Very worth the effort!

  • Babysitters & Housekeepers – if you can afford to, hiring good help is one of the best things ever. Get out of the house without the kids.
  • Planning – from weekly menus to playdates, having an idea of what’s going on helps me immensely.
  • Delegate to Dad – give Dad a task that is all his. Brad is in charge of baths in our house. It’s a wonderful break for me at the end of the day, and since the bath is his domain he doesn’t have to worry about me nagging him because he does something a different way than I would have (like filling the water up too high). Dad’s like having an area of expertise where they don’t feel like they are going to be critiqued every 2 seconds.
  • Chocolate and Wine – every tired mom’s best friend. :)

For the first few months you certainly have to give up a lot of your time and energy to your new bundle who relies on you for everything, but as they get older, making an effort to regain some of your time and freedom is beneficial to the whole family. You will feel better and your kids and spouse will have a much happier mom and wive.

signature

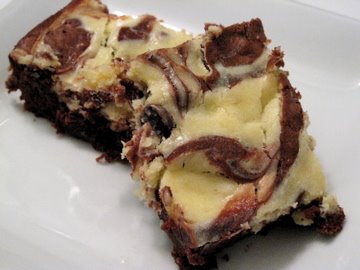
Mint Chocolate Cream Cheese Brownies

Orignally posted on Culinary Wannabe – this is one of my favorites!

Does the name alone have you swooning? Oh yes, they are just as good as they sound. Cream cheese brownies were already one of my favorite desserts, but the mint in these took them to a whole nother level. Chocolate and mint – it’s not just for girl scouts anymore! Keep the leftovers (if there are any) in the fridge, as they are totally awesome cold.

Mint Chocolate Cream Cheese Brownies

6 tablespoons butter
4-ounces mint chocolate, chopped
2/3 cup sugar
2 eggs, at room temp
1/2 cup flour
1 tablespoon unsweetened cocoa powder
1/8 teaspoon saltFilling:
8-ounces cream cheese, at room temp
1 egg yolk
5 tablespoons sugar
1/8 teaspoon mint extract
1/2 cup chocolate chips
  • Preheat oven to 350℉.
  • Spray a 9-inch square pan with non-stick spray.
  • In a large bowl, combine chopped mint chocolate and butter and melt in microwave on low. Start with 2 minutes, then stir, and continue cooking at 30 second intervals until completely melted.
  • Beat in sugar and eggs.
  • Add in flour, cocoa powder, salt and vanilla, and mix until combined.
  • Pour into pan in a thin even layer.
  • In a separate bowl, beat together the cream cheese, egg yolk, sugar and mint extract until smooth.
  • Stir in chocolate chips.
  • Place dollops of cream cheese mixture sporadically over the initial brownie layer, and using a dull knife, swirl together.
  • Bake for 25-30 minutes or until that batter in the middle is just set.
  • Let cool and cut to serve. I also preferred these chilled, so I kept them in the fridge.
signature

Shrimp and Grits

Originally posted on Culinary Wannabe – this is one of my favorites!

People either love or hate grits, which is primarily based on which side of the Mason-Dixon line they call home. In the south, grits are an absolute staple and present at nearly every breakfast table. In the north, they are thought to be as bland as cardboard and are nearly impossible to find (yes, you will get weird looks from the grocery clerk if you ask for them). Personally, I love ’em. But I do recognize that they are really a vehicle for all kinds of yumminess (cream, cheese, butter, salt), and that the grits alone are a little less than fabulous. And don’t even get me started on those instant types. Yuk! The first time I decided to make grits up here in NYC, the only kind I could find was a box of instant that looked like they had been there since the beginning of time; totally covered in dust and totally icky.

Now when grits are treated with respect and gussied up a little, they can be one of the most fantastic things you will ever put in your mouth (don’t believe me? Take a little trip down to the Fish House in Pensacola, FL for the grits a ya ya, and then lets talk). For our rehearsal dinner, we decided to do a southern theme, since we were in the middle of GA and more than half the guest were yankees or Canadians (i.e. super yankees), and the shrimp and grits absolutely stole the show. People couldn’t believe how good they were!

This recipe is just like that. It’s delicious, hearty, and a true tribute to Mr. Florence’s southern roots. Serve it up with a big glass of sweet tea and a side of cornbread and you will be totally set. Just don’t blame me when you start throwin’ around a few ya’lls.

Ultimate Shrimp and Grits
Adapted from Tyler Florence

For Grits:
3 cups milk
3 cups heavy cream
1 cup stone-ground white cornmeal (or grits, just not the instant kind)
2 tablespoons unsalted butter
salt and pepper

  • Place a large pot over medium-high heat, and add milk and cream.
  • Slowly whisk in cornmeal.
  • When grits start to bubble, turn heat to medium low and let cook for 10-15 minutes, stirring frequently.
  • Remove from heat and stir in butter and extra cream to thin out a bit.
  • Season with salt and pepper.

For Shrimp:
2 tablespoons extra-virgin olive oil
1 onion, minced
1 garlic clove, minced
1 pound andouille sausage, cut into chunks
1/4 cup ap flour
2 cups chicken stock
3 bay leaves
2 pounds large shrimp, peeled and deveined, tails on
1/2 lemon, juiced
salt and pepper
2 tablespoons flat leaf parsley, chopped
4 green onions, sliced

  • Place a deep skillet of medium heat and add olive oil.
  • Saute onion and garlic for a few minutes to soften.
  • Add sausage and cook until browned.
  • Stir in flour.
  • Slowly pour in chicken stock and stir to avoid lumps.
  • Add bay leaves.
  • When stock begins to simmer, add shrimp and cook for 2-3 minutes until firm and pink.
  • Add lemon juice, parsley, green onion and season with salt and pepper.
  • To serve, spoon grits onto plate and top with shrimp mixture.
signature

My Favorite Baby Must Haves

My Favorite Baby Must Haves

Rylan is just over 4 months old and here’s a list of what I simply can’t live without for him…

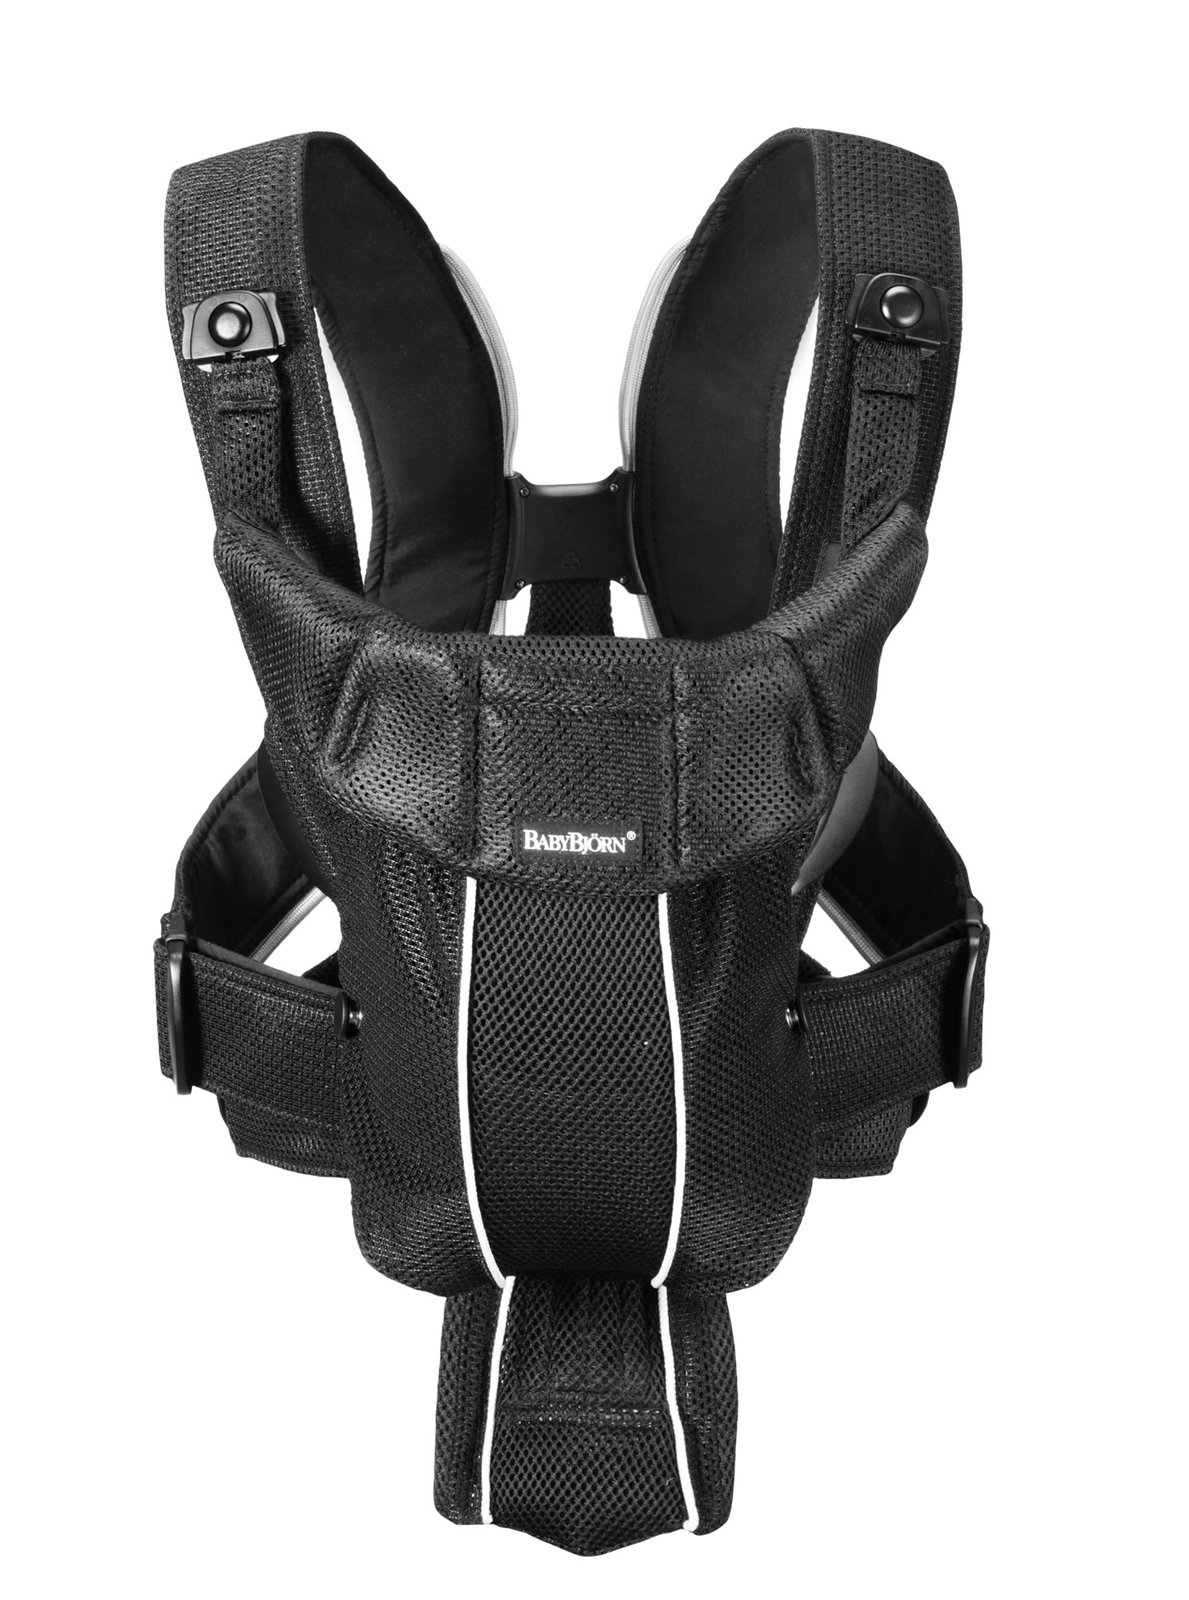
Bjorn Carrier – We have two, but this one is the best for lighter babies. It’s so easy to use and the baby can face towards or away from you. I have Rylan in this all the time so that I can do things with Brandon and use both hands.

Aden and Anis bamboo swaddle blankets  – So soft and pretty. We only swaddled Rylan for the first month, but I use these to cover the stroller or bjorn so he doesn’t get sun (or touched by creepy people on the street). The Sleep sacks with swaddle attachments are also a must-have if your baby is breaking out of normal swaddles. The Miracle Blanket is even tougher for them to get out of, but it’s kinda a pain to do up, especially after a diaper change at 2 am. I’m also obsessed with the Aden and Anis burp cloths/bibs. They are the perfect size and shape and I love that they serve multiple functions.

White noise machine – Blocks out all kinds of noise when the baby is sleeping. With a toddler and a crazy dog running around this is a must have.

Summer Infant Video Monitor – This one is the best!! We’ve been through 3 different brands and they all broke on us within 6 weeks. This one has been going strong for a year plus now, and we even added a camera so we can watch both of the boys rooms. It has a scan feature that automatically switches between up to 4 cameras every 8 seconds. Perfect for when you are sleeping and want something that is going to monitor multiple children.

Stroller(s) – You gotta have one, and if you live in NYC it better be good! We actually have 3, and I love them all for different reasons. A Maclaren for easy fold-up, great for when we are going to be taking a cab or car someplace. An UppaBaby with an attached rumble seat, which I use when I have both kids but will be in a more cramped place, like Whole Foods. And a double BOB running stroller. Even though the BOB is enormous, it’s probably my favorite. We have the car seat adapter and I’ve been running with Rylan since he was 3 months old. It’s insanely heavy with both kids and the car seat, which has really kicked my butt into shape. It’s a large stroller to have in nyc, but I like that both the boys can see out. It also does amazing in the snow!

Fisher Price Bouncy Chair and Play Mat – We have some of the other “cooler” versions (that cost like 4x as much), but you just can’t beat the classics. They have more bells and whistles and the kids generally respond to the colors and lights. The others might look better with your decor, but you will be running out to get the gaudy bright colored jungle of toys sooner or later.

Play Pen – We have a Graco, but I don’t think it matters what brand. You just need a place where you can put the baby down and know he’s safe for a few minutes. I actually do “independent play time” in the play pen. I have a mobile and a handful of soft rattles in there for Rylan and he will hang out there for 30 minutes most days while I cook dinner. Brandon did his independent play time in there until he was 18 months old and then switched to his room. It’s also a great place for them to sleep if you are traveling.

Medela breast pump – If you are planning on breast feeding, a good pump is a must. I know there are people out there that never end up giving their baby a bottle, but this mommy needs a break every once in a while. Not to mention that a pump can help you with supply issues. If you are not getting enough milk, pump in between feedings to increase supply. Too much milk and all you have to do is pump a little before you start feeding to keep from drowning the baby. I actually started exclusively pumping for Rylan after about 2 months. I just found it quicker and easier to do things on my schedule and I’ve never really been skilled enough to breastfeed in public. I would highly recommend getting a double pump. It just makes life easier and every minute counts when you have a newborn.

Diapers.com – I seriously don’t know what I would do with out them. I get deliveries multiple times per week. They are quick, reliable and easy to deal with if anything every does go wrong.

I would love to hear from you what make your must-have for baby list!

signature

Rylan 4 Month Summary

Rylan is just as sweet and easy going as ever. I swear 2nd babies must come out knowing that they have to share the spotlight. The biggest change this month would be his sleep consistency. He now goes down easy as pie at bedtime, and will generally fall asleep on his own for naps as well. He pretty much only ever cries when he is tired, so I know he has to go down before he reaches that point.

With Brandon, I was very adamant about always having his naps in the crib, but that just isn’t possible for Rylan. Instead we usually do his morning nap in the stroller then his last 2 in the crib. This seems to be working fine for him and gives us the flexibility we need to get out of the house during the day. Because I’m not always having him in the crib, if he is having a rough time going to sleep (rare) or wakes up 45 minutes into a nap, I will move him to the swing and let him finish his nap there.

Rylan loves to play peek-a-boo, and has even figured out that if he pulls a burp cloth up and down in front of his face we will finally catch on and start playing it with him. He also loves to be lifted up and down, which is giving me some killer biceps! If he isn’t holding something he will grasp around with his hands until he finds something. His bib, fingers, shirt – this kid just has to be holding something at all times.

Our highlight lately is that he is now old enough to go in the exersaucer, aka the circle-of-neglect. Glad we discovered this, since when Brandon was that age I was stuffing the thing full of blankets and towels trying to keep him upright. So far, Brandon seems more interested in it than Rylan, but I’m sure he will come to love it as much as we do. :)

Here’s a typical rundown of his day:

  • 7:25 am – wake-up, get dressed, and bottle of BM (7.5 oz)
  • 7:45 – sit in bouncy chair as we have breakfast
  • 8:15 – watch mommy do laundry/chores
  • 8:30 – playmat time
  • 9 – out for a walk/run or trip to the park in the bjorn or stroller – will sleep most of the time
  • 11 – “play” with Brandon
  • 11:30 – bottle (7.5 oz) then hang out while we have lunch
  • 12:30-2:30/3 – nap
  • 3:15 – bottle (7.5 oz)
  • 3:30 – “play” with Brandon
  • 4:30 – nap
  • 5:30 – independent play in play pen
  • 6 – dinner with family
  • 6:40 – bath
  • 7 – bottle (7.5 oz)
  • 7:30 – bedtime!

Happy 4 months precious boy!!

signature