I love the start of a new year. It feels like everything is fresh and clean – a chance to renew and restart. Just looking at my empty and pretty planner makes me excited. I know that a lot of people make resolutions to get more organized this time of year, so I thought I would start a “Let’s Get Organized” series of posts dealing with how to do just that. Each month I will do a post on how to improve your life with a little advanced planning. I’m not talking about hours of cleaning out your closets, more like streamlining your daily tasks to make your life easier and more efficient. By no stretch of the imagination am I a neat freak, but I’ve found that having some semblance of order to my day and planning things out in advance have helped me be a better mom and wife.
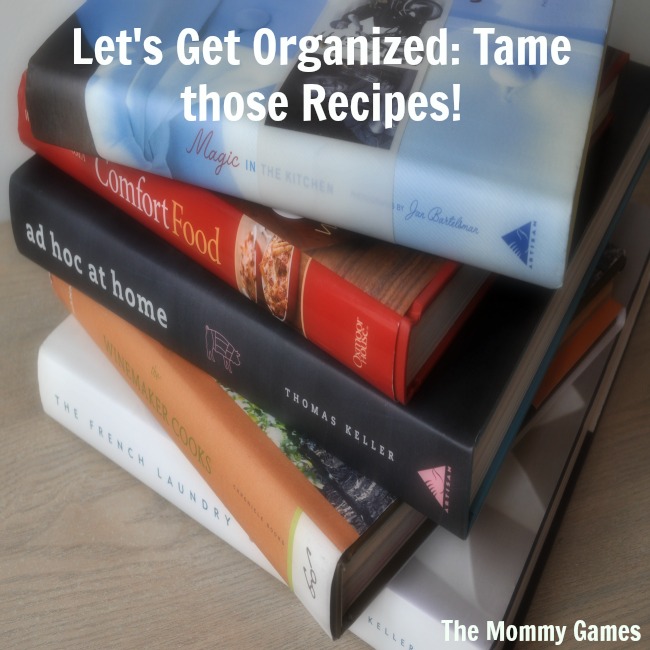
One of the most important things I do each week is plan out our weekly menu. I do everything from breakfast to dinner, and even snacks if I’m feeling really aggressive. This keeps us from ordering in (unless that actually is the plan) and makes for a much calmer mealtime. First thing’s first though, and there’s no way you can efficiently meal plan without having an organized recipe base to reference. I overhauled the way I organized my recipes a few years ago, and I can’t begin to tell you how much easier it has made everything. Follow this plan and you will have tons of meal options right at your fingertips. No more digging through cookbooks or scouring the internet at the last minute. So here’s how to do it:
1) Create a Database – Excel is my go-to for things like this, but use what ever computer system you are comfortable with. Within excel, I will create tabs for different categories (easy dinner, appetizers, slow cooker, breakfast, lunch, etc). I might then have subcategories (which I put in different columns) on each particular page (like on “easy dinner” I have pasta, seafood, meat, etc.).
2) Log your Recipes – I then write out the recipe name along with an abbreviation for the cookbook it is from and the page number. For example – “Buttermilk Chicken (Nig Exp p.274).” If the recipe is digital then I will write the corresponding place I can find it on as well, like “pinterest.” This makes it easy to search the database if I’m looking for a keyword (like chicken) or want to find a recipe from a particular cookbook. Within each column, I will keep the recipes that I’ve made in the past and liked at the top, then have a few spaces and list the recipes I haven’t yet had a chance to try out at the bottom. If they are no good, they get deleted. If I like them, then I just move them on up to the top half. This is super helpful because it allows you to quickly reference what you have made versus new recipes. One might be perfect for a Tuesday night, while you will probably want to save something new or complicated for a weekend.
3) File it – We all have a pile of pulled out magazine pages or printed out recipes, and I’ve found the best way to keep those is in a 3-ring binder. I have two binders. One is for recipes I’ve made and want to keep, and another is for those I haven’t yet made. In my database I just write out the name of the recipe, so I know if it doesn’t reference a cookbook it must be in a binder. Within each binder I have categories as well to make them easy to locate.
4) Manage Digital Recipes – A ton of my recipes come from other blogs, and I don’t always want to print out the recipe and file it manually. Pinterest is a life safer in this arena. I have various boards that I pin recipes too (similar to the database with dinner, apps, sweets, etc.) so I can easily locate it when I want. I also enter the recipe name and location within my database. I will sometimes star items in my Google Reader and reference them there as well. If it’s a complicated recipe, it’s usually helpful to keep it online so that you can go back to the site if you run into problems.
5) Highlight – Here is the real beauty of the database. You’ve spent all this time entering in your desired recipes, and if it looks anything like mine, it might be a little overwhelming. Each month or so, I glance over the categories in the database and highlight a handful of recipes that I want to cook in the near future. This is a great time to look for seasonal things, like chili in winter or a rhubarb dessert in the spring. I also like to brightly highlight dishes that the family loves so that I’m sure to remember them. Now when you sit down to menu plan you will have all these options ready to pull from.
6) Update – Once you put in the initial work, keeping the database updated takes barely any time at all. Generally, I will add new recipes and move around recipes we’ve recently tried (or delete them) before I start menu planning.
Having all your menu options easily accessible will make weekly planning infinitely easier! Stay tuned for next month when we will talk about actually getting it all mapped out!







This is GREAT! Menu planning makes our family life SO much better. On weeks I fail to plan our meals, it just doesn’t run smoothly around here. We eat unhealthy. And we miss great meals around the table. I use Pinterest for the recipes I come across online. But your system sounds like a way to take it to the next level. Awesome!
Kim | At Home With Kim recently posted..Morning Moments
I totally agree Kim – I feel like we eat such junk if I don’t plan it out. I really don’t know what we did before Pinterest. And this system has totally changed my life. It takes a little elbow grease to put together, but is so worth it!
This is a really great idea. I’ve gotten into a rut with recipes lately, and I think it’s because my recipes are all over the place!
Melissa recently posted..Making the Leap to Table Food: Pancakes
Thanks Melissa! It’s really nice to have a centralized place to keep it all in.